

If you have a bottle of pure maple syrup in the fridge but a recipe that calls for cane sugar, we have good news. You can make the swap and choose to use nature’s wholesome sweetener. Maple syrup brings a warm, complex sweetness to baked goods, marinades and drinks that cane sugar simply can’t match. Plus, pure maple syrup has nutritional value that cane sugar lacks.
We think of maple syrup as the smarter sweetener because it contains minerals like manganese, zinc, calcium and potassium. Maple syrup is also considered a low-glycemic food. According to the Glycemic Index Guide, maple syrup’s glycemic index is 55 compared to sugar’s 65. A lower glycemic index means maple syrup causes a somewhat slower rise in blood sugar than table sugar.
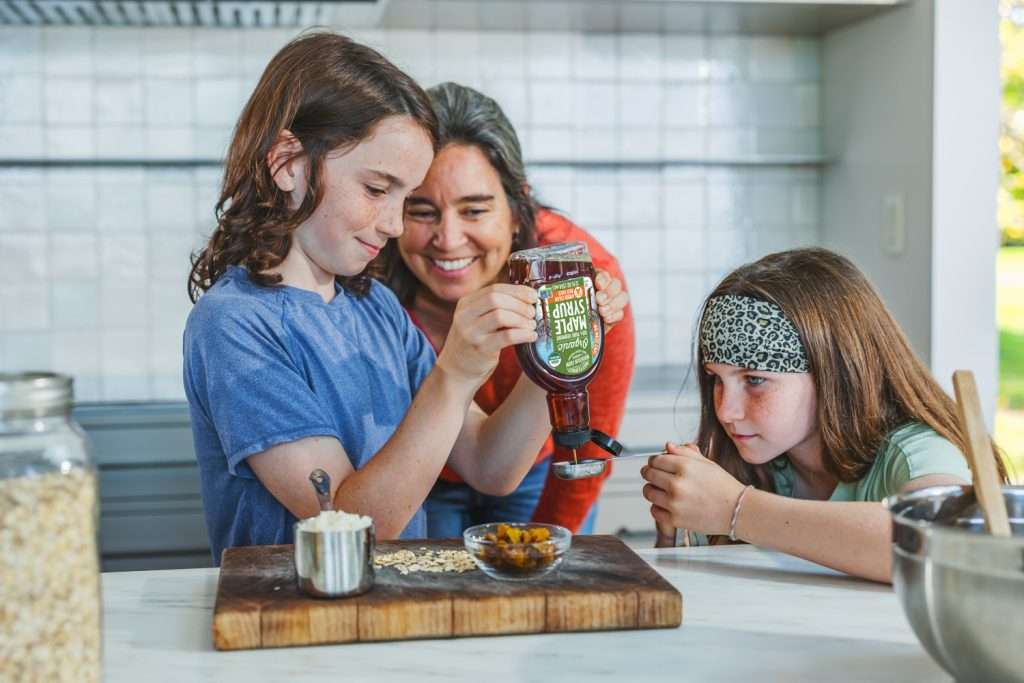
The swap isn’t a straight 1:1 pour-for-pour trade, though. Because maple syrup is a liquid, and cane sugar is dry, a few small adjustments need to be made to keep your recipe’s texture in tact. Here’s how to do it:
For 1 cup of white sugar, use ¾ cups of pure maple syrup.
Real maple syrup provides a rich sweetness with an earthy tone that enhances the overall flavor of a recipe. Be sure to use real maple syrup when making the switch. Pancake syrup is simply corn syrup mimicking a maple flavor and will not result in the flavor you’re after if used to bake with.
Once you’ve made the trade, make sure to:
1. Reduce other liquids in the recipe
Since maple syrup contains water, adding it to a recipe adds moisture that the original recipe didn’t call for. Cut other liquid ingredients by 3–4 tablespoons for every cup of syrup you add. Leave fats like butter or oil as written.
2. Add a pinch of baking soda
Adding ¼–½ teaspoon of baking soda to the recipe helps balance the pH so your batter rises properly. If your recipe already includes an acidic ingredient like buttermilk, yogurt, or sour cream, you likely don’t need to add extra.
3. Drop the oven temperature by 25°F
Maple syrup’s natural sugars caramelize faster than cane sugar. Because of this, baked goods can brown on the outside before the inside is done. Lowering the oven temperature by about 25°F gives the center time to fully cook without scorching the crust. Adjust cooking time by giving the recipe 5-10 more minutes. Check the doneness of cakes, loaves and muffins with a cake tester or toothpick!
If your loaf begins to darken in color before the center is done, cover with a tent of tin foil.
4. Use room-temperature syrup
Cold maple syrup can cause butter or other fats to seize when mixed. Allow your syrup to come to room temperature before creaming it with butter or eggs for the smoothest batter.
5. Pick the right classification of Grade A maple syrup
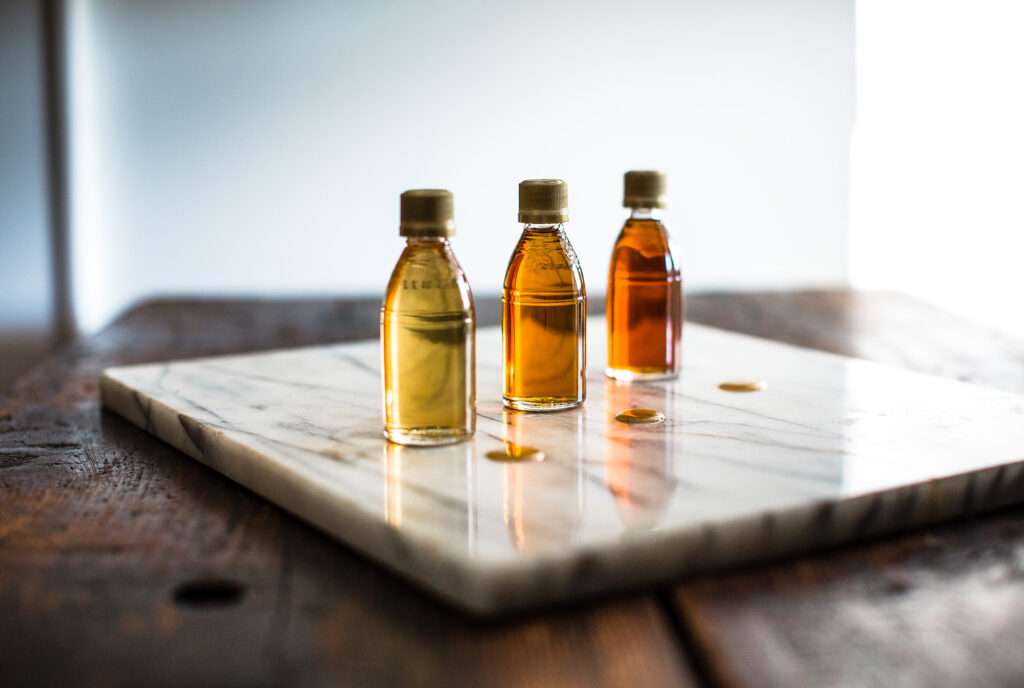
When it comes to choosing what kind of maple syrup to use in your recipe, there’s flavor information you should know. Within Grade A maple syrup, there are four subclasses that differ in color and taste. Generally, the darker the syrup, the more pronounced the maple flavor. Here’s the breakdown, so you can pair your dish with the right flavor profile:
- Grade A Golden Delicate is the lightest of the group, making for a sweeter, buttery flavor with hints of vanilla. This is ideal for topping scoops of ice cream or pouring over yogurt bowls.
- Grade A Amber Rich is described as having a “true maple flavor” and is considered an all-purpose syrup to use in coffees, on top of pancakes, in salad dressings or batches of granola.
- Grade A Dark Robust has a more pronounced, caramelized flavor. You’ll taste notes of brown sugar which is why it so often is suggested to bake with.
- Grade A Very Dark Strong is the darkest within Grade A maple syrup and has notes of molasses. It is typically not for sale on retail shelves.
Most baking recipes convert well using the ¾ cup rule. However, recipes that rely on sugar’s dry structure like meringues and shortbread cookies don’t convert well. In this case, use pure maple sugar! Because this is maple syrup in a dry, granulated form, it can be substituted 1:1 with cane sugar, adding depth and real flavor to your recipes.